What measurements does a designer need for hotel wayfinding signs?
Record the usable panel, viewing distance and turning point in one site note. A worked example shows what the designer and installer each need.
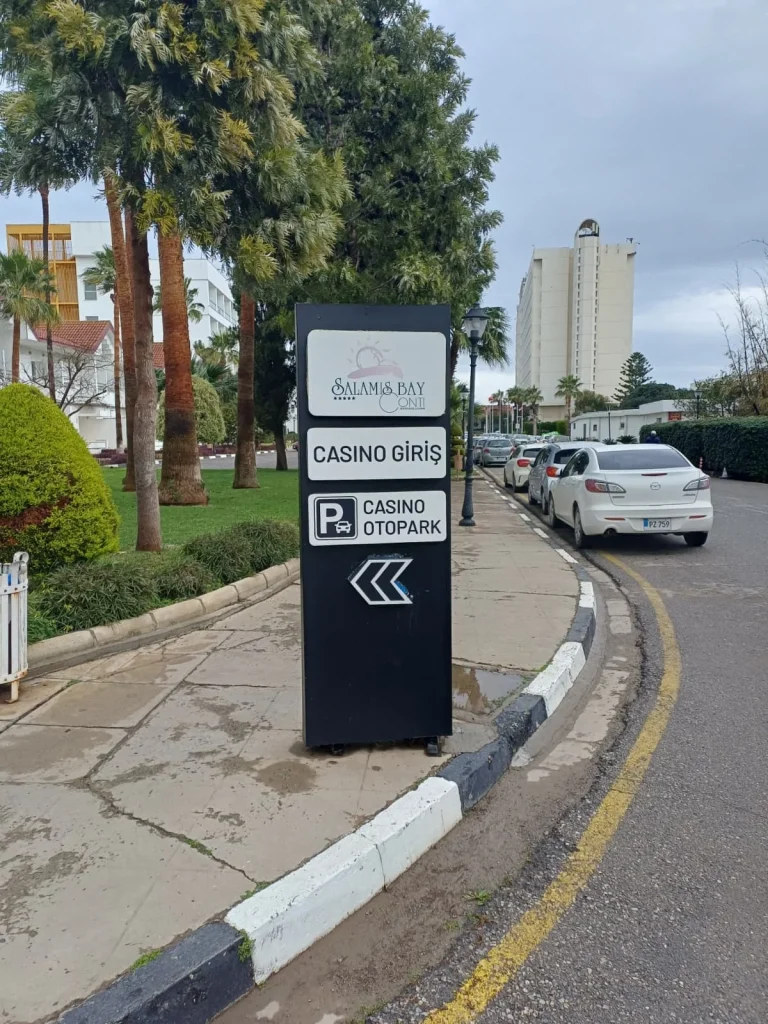
Start where the guest walks
Follow the route from reception to the restaurant as a first-time guest. Where would you hesitate? At a fork, photograph both the wall and what a visitor sees on approach. Someone coming from the opposite end may need an entirely different arrow.
Give each surface a reference
Mark Y01, Y02 and so on on a simple floor plan. Record usable width and height, distance from the floor to the bottom edge, first viewing distance and direction of approach. Include units. Distinguish the whole wall from the space left for the lettering. Mark a door swing, wall lamp or patch of glare on the photo.
An example survey note
Y03 | lobby exit, restaurant junction | usable area 80 × 40 cm | visible from about 6 m | turn left when coming from reception. These figures illustrate the format. Attach an approach photo and a straight-on view to the same record. Draw the arrow on the plan so the installer can identify the wall and face.
Walk the route before production
Put up a temporary paper proof and ask someone unfamiliar with the building to find the restaurant. Note where they pause and whether they look for confirmation after turning. Agree final dimensions and mounting with the installer on site. Review fire and emergency signage separately with the responsible facilities team.
Source · NHS England · Wayfinding
Related projectSalamis Bay Conti ↗