ArtCraft review: making a print-ready poster with PhotoCraft, VectorCraft and DesignCraft
Follow a layered photo, an SVG mark and a two-page programme through the ArtCraft apps. A closer look at DesignCraft 0.19.0 and the role of ArtCraft Studio.
Cem Yaşlı
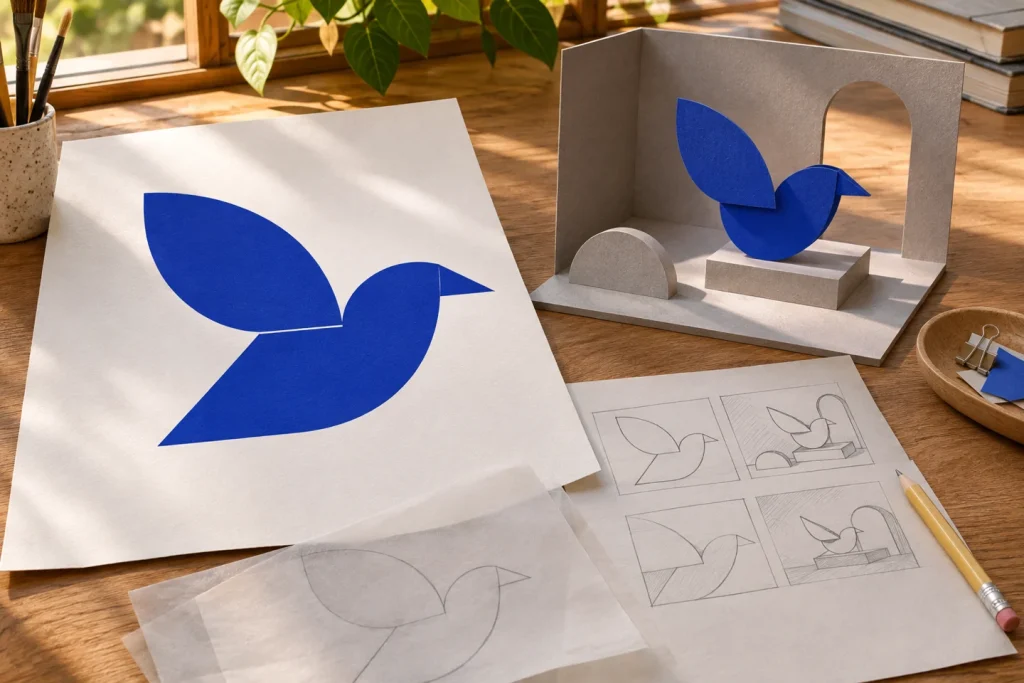
Familiar tools make a good first impression. The real test comes a day later, when a client wants the bird’s wing a little larger, the photograph exactly the same size and the event time corrected on the back of the programme. If all you have is a flattened JPEG, three simple revisions turn into a rebuild. They also make a useful starting point for evaluating ArtCraft.
ArtCraft brings together two different workspaces under the same name. On the Craft Apps side, PhotoCraft is for pixel editing, VectorCraft for vector drawing, and DesignCraft for page layout. ArtCraft Studio allows the use of canvas and 3D scenes for producing images and videos. The team distributes Craft Apps as free and open-source. The terms of use for a chosen production model in Studio are a separate decision. The pixel editing, drawing, and layout steps of the poster design below do not require paid AI generation.
What should your test file tell you?
Let's create an invitation to a hypothetical paper art exhibition as an example. You'll need to submit a photograph of a bird cut from white paper, a monochrome blue sign, a two-page A5 layout, and a social media announcement. Each element has a designated person. You'll arrange the material and shadows in the photograph, the silhouette in the vector, and the order in which the text reads in the layout. Keeping these in separate files allows you to see which information gets lost between applications.
Before you begin, record the result you expect in a single line. For example, “wing outline editable, exhibition name selectable text, photo background will remain masked.” In the same folder, write the application version and the name of the font you are using. This will help you determine whether to investigate the font or the program first if the line break changes on another computer tomorrow. This review is based on the manufacturer's documentation and version records. The purpose of the following exercises is to provide benchmarks you can test with your own files.
PhotoCraft: reopen the layered file
PhotoCraft's official product page documents working with layered PSD and PSB files, adjustment layers, smart objects, and color profiles. These are different promises. The file's opening, the ability to edit each layer within it as expected, and its ability to produce the same result in another editor when saved are all checked separately. A simple example makes all three conditions visible.
Place the bird photograph on the base. Separate the background with a mask, add a curve adjustment that only changes the tone of the paper, and a short title. Export a preview of the original. After closing and reopening the layered copy, make three minor edits: restore the edge of the mask, close the curve, and change one letter in the title. You can easily overlook a flattened layer if you only look at how the image looks before.
If you see a gray fringe on the white edge of the bird, first examine it against both light and dark backgrounds. A mask that appears smooth against one background might leave a thin frame against another. When saving the revision, do not overwrite the original PSD. The editable master file, the change copy to be opened in another editor, and the client preview, while belonging to the same project, serve three different purposes. If your team will be taking over the file in another application, the final check should be done there.
VectorCraft: does the mark still read at 24 pixels?
Draw the bird in three parts: a broad curve for the body, a narrower leaf shape for the wing, and a small triangle for the beak. In the first version, keep these as separate objects. In the second copy, combine them into a single silhouette. The two drawings may look the same on a large screen. While a small movement is sufficient in the first file when the wing angle changes, you may need to re-establish the joining points in a single path-reduced form.
Export the mark to 24 pixels wide and open it in the browser at 100% scale. Then compare the second version by changing only one wingtip. If a thin white space disappears at this scale, then enlarging the canvas to 400% and observing the curves that appear flawless answers the wrong question. Also, take a separate proof for the print program. At the small scale, reading the designation as a bird may be more important than the wing and body appearing separate under all conditions.
When delivering an SVG, use a second medium that can open the file as text or an image. Check that spaces are closed, that the visible area fits the edge of the mark, and that no unnecessary blank pages are being moved. If the company color needs to be changeable, describe in a sentence in the delivery note which shape the recipient should select to update the color.
Two print-production fixes in DesignCraft 0.19.0
The November 9th release log for version 0.19.0 includes a fix for an image and its frame not moving together. Imagine you're moving a photo area between two columns on a program page. If the bird inside remains stationary while the frame is moved, only the cropped wing might be visible. Try moving the frame and content together first. Then, leave the frame stationary and deliberately move the image inside. Being able to distinguish these two movements provides a faster diagnosis than simply re-importing the image.
Version 0.19.0 also flags a white or [Paper] object set to overprint during preflight. Set a white headline on a dark blue rectangle. Leave one copy at its normal setting and enable overprint for the white text in another. In conventional process printing, white usually comes from the unprinted paper. If the type overprints, the blue beneath it may fail to knock out, so a headline that looks fine on screen can disappear in print. Printing with a separate white ink is a different process. Follow the printer’s spot-colour and plate specifications for that job.
Where ArtCraft Studio fits in the workflow
If a client wants to see how a bird symbol would look on a paper scene, the Studio's canvas and three-dimensional scene can be considered for composition planning. First, decide on the bird's position and camera height. If you produce two candidates in the same scene, only changing the camera angle, the client can really compare the framing. When the lighting, form, and camera change, the comment "the second one is better" doesn't guide the next revision.
This example requires a scene interpretation for a social media image and a clearly defined symbol for a print poster. The bird's wing might be aesthetically pleasing in the final version, but the proportions of the approved logo might change. Placing the final logo from the vector master file solves this problem. Check your account's credit usage before selecting the AI model. Accessing the product's open-source code and obtaining a free printout from a remote model are subject to different conditions.
Would you use ArtCraft on a freelance job?
Before moving the entire archive, break the submission down into small tasks. Save the photo, the label, and the two-page schedule, then close the file. The next day, reopen the files with only the notes you followed. In the final submission, check if the “I” and “sh” in the exhibition name are correct, if the time on the next line is approaching another event, and if the bird's wing is cut off at the edge of the print. Provide the answers to these three questions from the finished PDF. Then consider whether the person who might make the same three changes in the main files will ask for your help.
ArtCraft's most promising aspect for today's experimentation is its ability to break down such a limited project into individual applications. For an illustrator, simply delivering a small design as a vector might suffice. For a team preparing prints in numerous languages, font, text flow, overprinting, and proofreading are equally crucial. If you pre-select the most demanding revisions in your own file, you'll be able to gauge a new editor's suitability for your project far better than just relying on its introductory screen.