How to crop one product photo for square, landscape and portrait layouts
Setting up three different crops—using a coffee grinder as an example—without cutting into the product or creating an awkward, cramped, or overly empty composition.
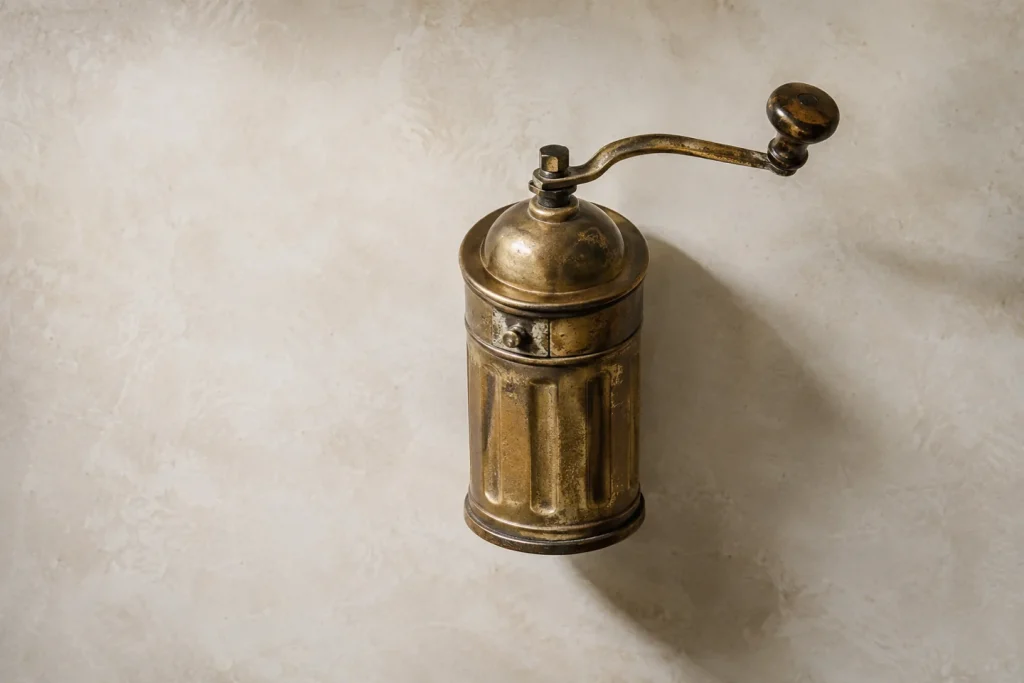
A coffee grinder with a long handle looks great in a square frame. However, if the same file is used for a horizontal website banner, the tip of the handle might get cut off; conversely, in a vertical format (like for a "story"), there might be excessive, unusable empty space on either side of the product. Before requesting a higher-resolution file, determine whether the issue is the resolution or the framing.
Set up three viewports (windows) on your shooting screen.
Test three temporary frames—square, vertical, and wide-horizontal—over the same photograph. In each version, are the handle, the label, and the point where the product meets the surface all visible? If you plan to add text, roughly mark out the space for it as well. If you intend to place a headline on the right side later, leaving an equal amount of empty space all around the product may not always yield the best result.
For some products, a single, well-composed wide shot can serve all three purposes. For items like a very tall bottle or a long, horizontal box, it may be cleaner to shoot a second angle. Providing a specifically cropped image for small screens on the web is a different decision than simply providing a lower-resolution copy of the original frame. Make sure the distinction is clear in your file naming: labels like "mobile-vertical" and "desktop-horizontal" are explicit, whereas a name like "final-small" is ambiguous.